
[ad_1]
Thank you to Nordstrom for sponsoring this post.
SCARF AS TOP // PANTS IN FOUR COLORS (would also look great with this top) // SHOES // LIPSTICK (color Mischievous)
A major moment for the high pony! While typically I am exclusively a low bun lady, lately I have been experimenting a bit. I turned to Nordstrom for some new beauty products to perfect the high pony look – everything from leave in treatment to superfine strong hold hairspray to the perfect brush!
Below I am going to break down step-by-step how I achieve this look. My high pony tutorial starts now…
MY HIGH PONY TUTORIAL
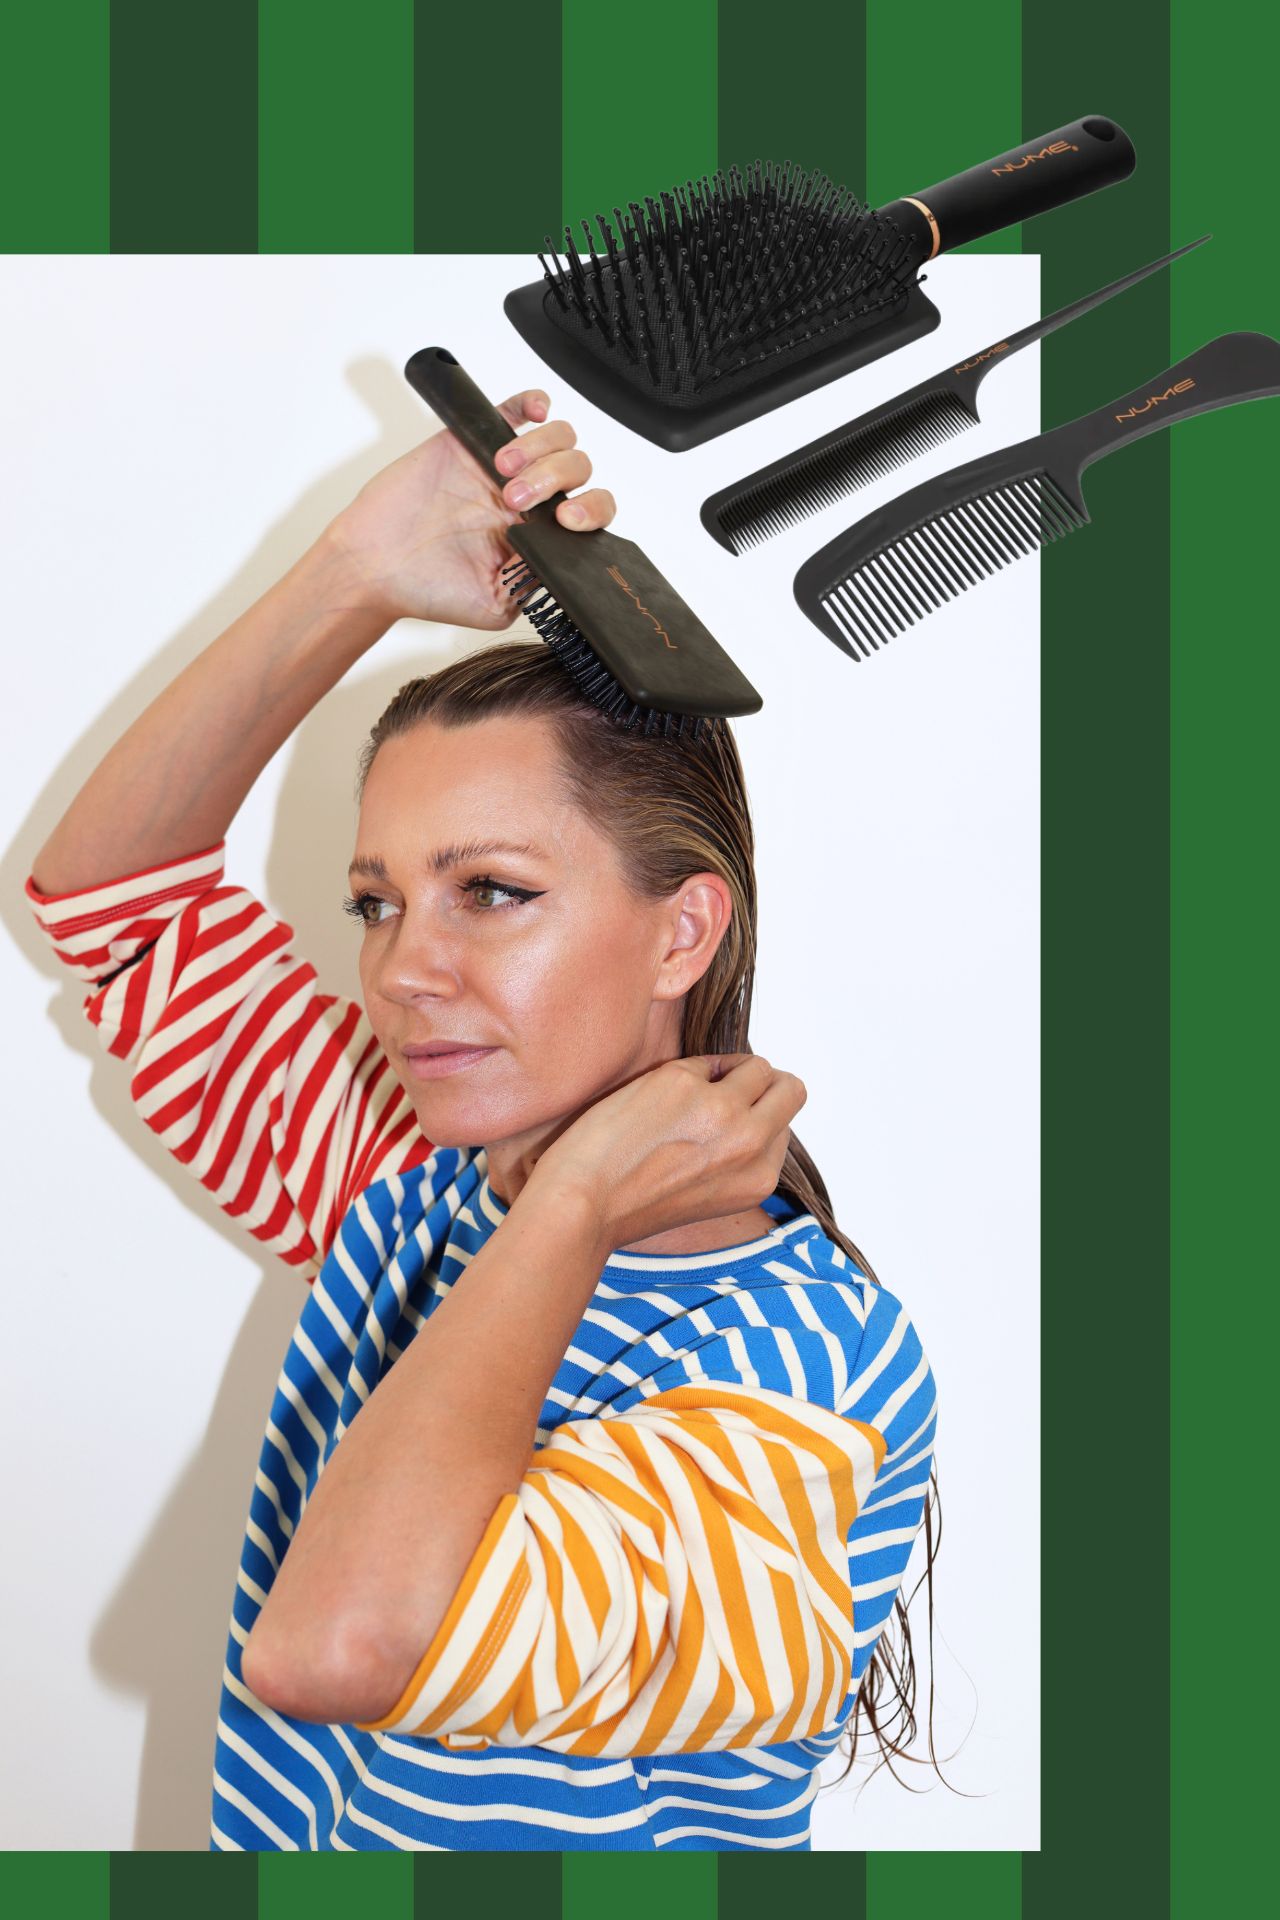
STEP ONE // So I like to start with wet hair. I find that damp hair takes to the product better and it is easier to slick back. You will see towards the end of this tutorial, that I dry my pony after I have achieved the sleek crown I’m looking for. In this step I am using this hair brush that I love and have been using for the past year!
STEP TWO // To protect my fine hair I always apply a leave in treatment. This helps to reduce breakage and frizz, and better hide split ends. Here I am using this formula, but I also use this one as well!
STEP THREE // When it comes to achieving a slicked back look, mousse is your best friend. It really helps to mold the hair and help it stay in place all day long. This mousse is excellent and I love that it is also available in a travel size for those of us who are always on the go!
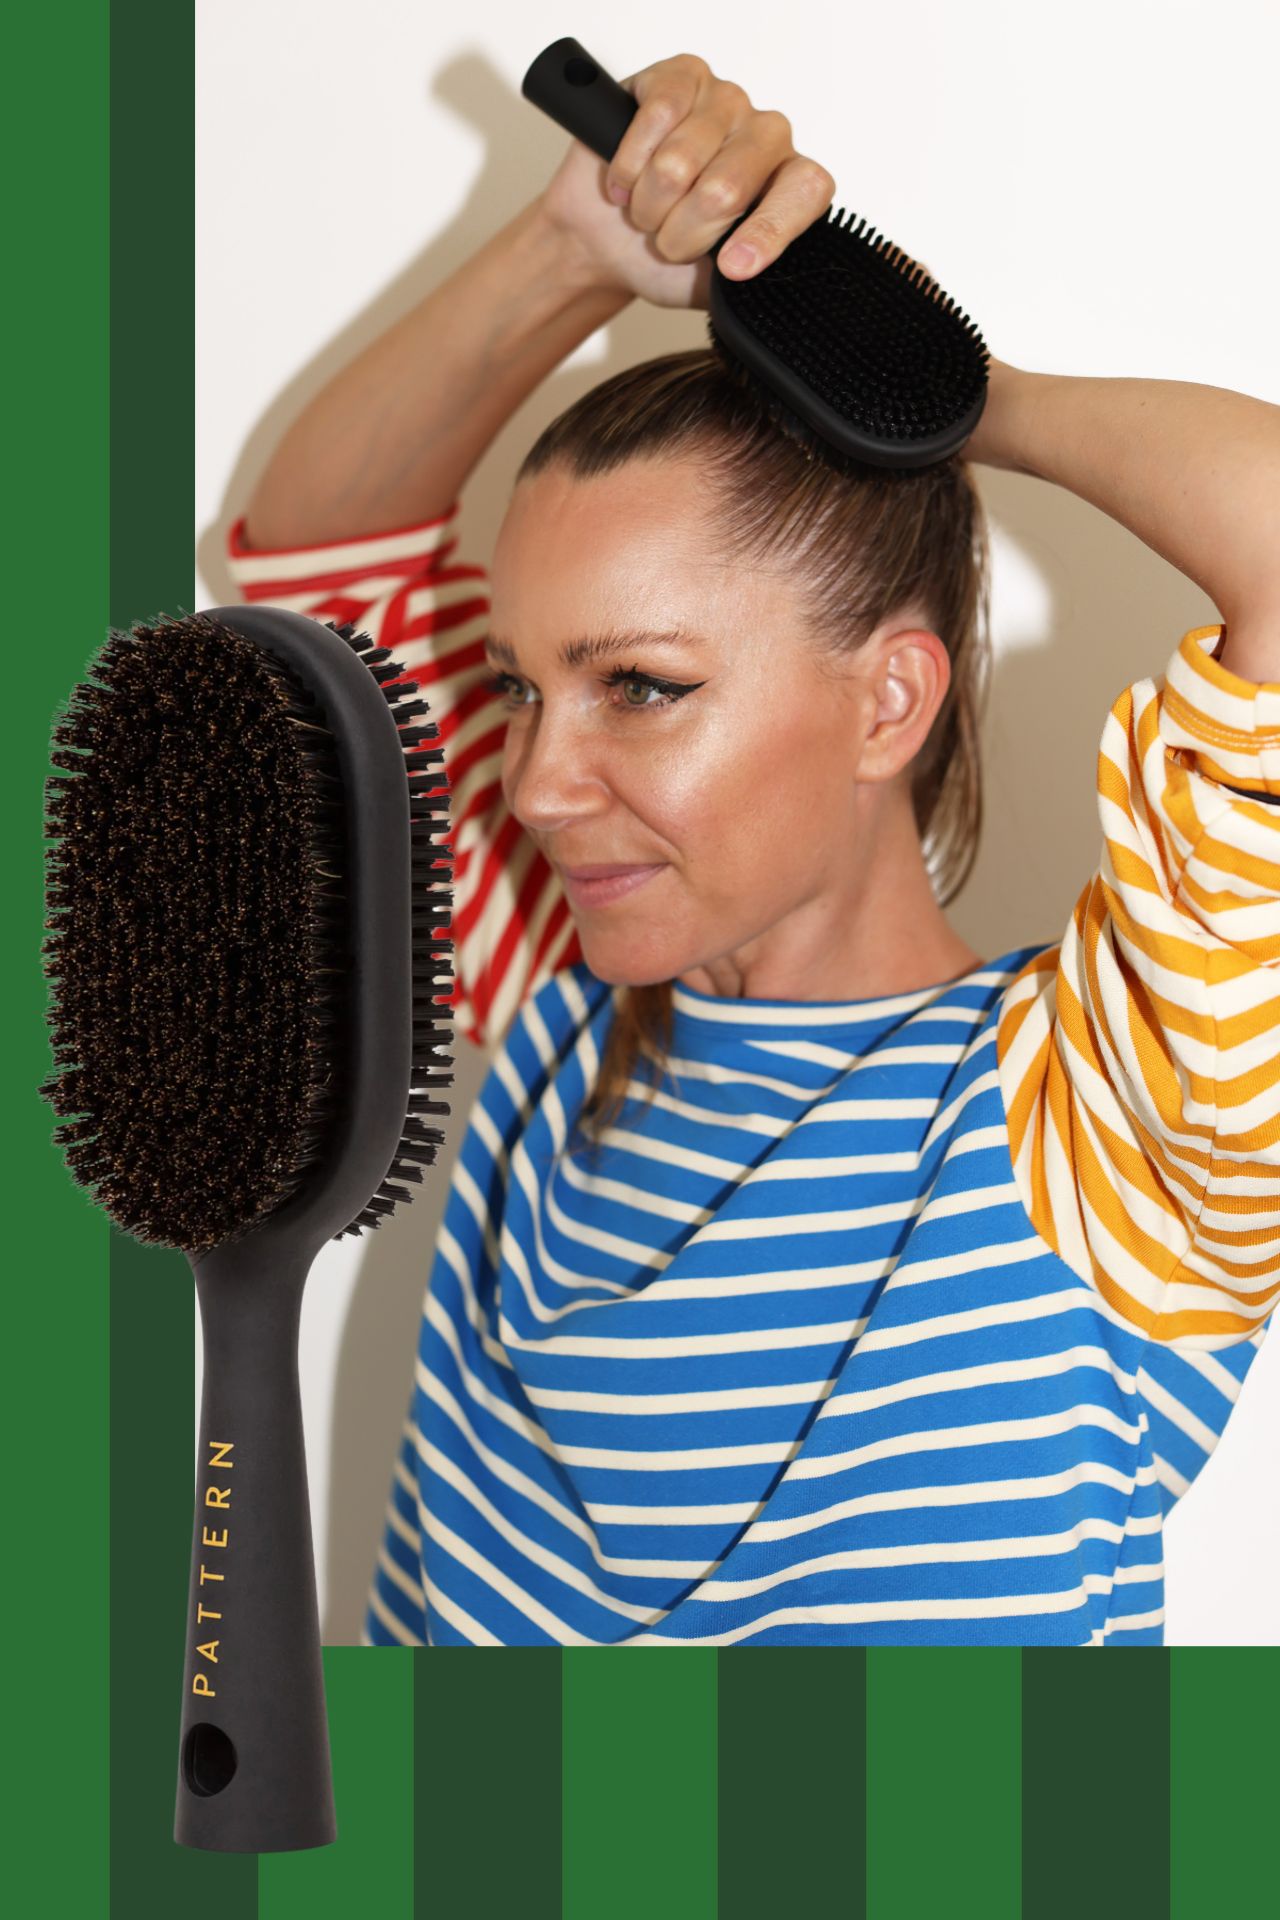
STEP FOUR // Okay, time to slick this baby back! Having a boar bristle brush or something similar is *key* for getting you hair in line. While I use this brush to get my hair into the initial pony tail (should be placed and gathered at the crown of your head), when holding my hair back (no hair tie in yet), I use a boar bristle brush to smooth back my hair for the cleanest look possible. Even with my low bun, getting your hair back in a really smooth, uniform way takes some practice. Don’t get discouraged if it takes time and a few extra attempts.
STEP FIVE // Let’s add some shine and smooth back any strays! I use this oil (quite generously) to slick back all of my hair once it is secured in a hair tie. This adds some shine, protects my hair, and forces some of those tough flyaways to lay flat.
STEP SIX // Secure it. Hair spray will ensure everything you have done up until this point will stay put! For me, spending lots of in the Florida humidity can be brutal. This hairspray is top notch and lasts all day for me even in a tough climate!
STEP SEVEN // Now we turn to the actual ponytail. Yours may still be damp at this point, so you’ll want to blow dry prior to styling. I have used this professional blow dryer for ages and absolutely love it.
STEP EIGHT // I prefer to have a little bit of height to my pony. My hair is fine and tends to lay limp so I split my dry ponytail in half and use this teasing brush to backcomb the ponytail and add volume. If the ponytail happens to look too messy on the outside, simply use this same brush to smooth everything out!
STEP NINE // Okay, you are all done. I would do a once over and if some pesky flyaway hairs remain, just use this pomade stick to slick them back. If your ponytail feels a bit too sloppy for your liking, smooth it out by running your hands around it with just a touch of this oil.
I hope this was helpful – and since someone will surely ask 🙂 – you can shop the mixed stripe top that I am wearing for under $100 here. And, there is another color option for you here!
[ad_2]
Source link